And this was the design I did. I just used a base coat of just normal black nail polish. It says not to put it on your base nail, to use a base coat which makes sense. So here is my nail.

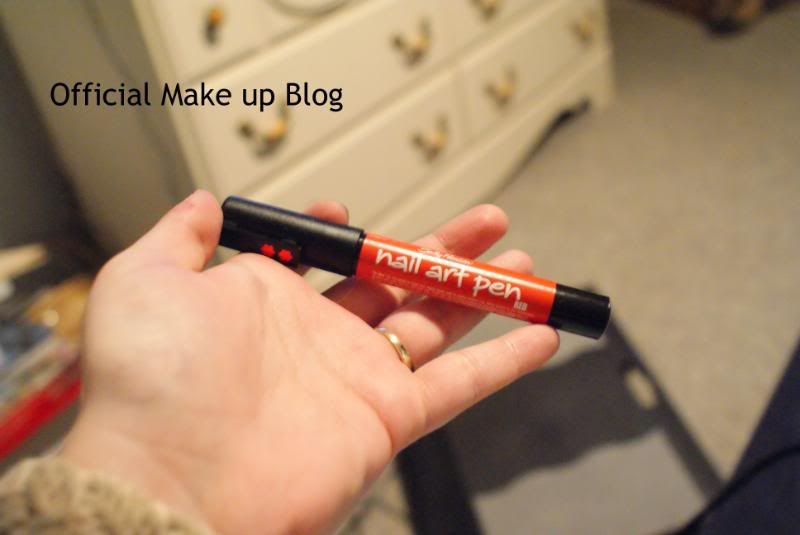
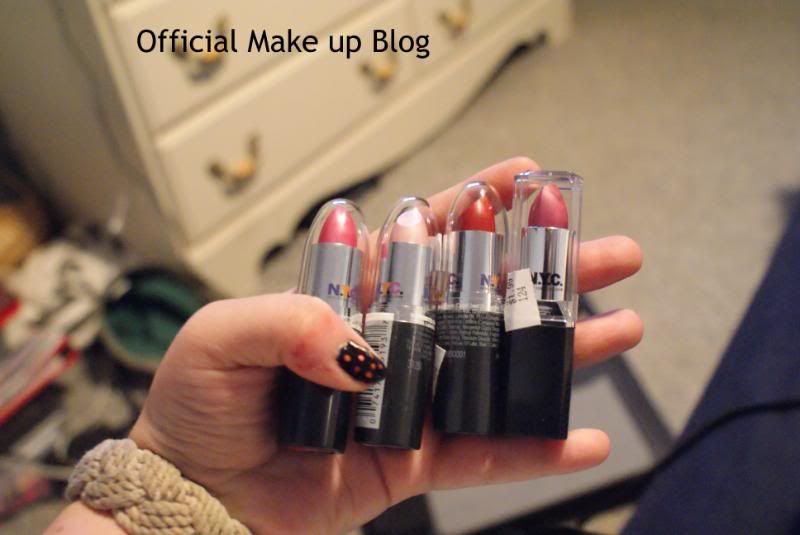
So besides the nail art pen with the haul I also bought 4 NYC lipsticks and a white eyeliner pencil from them. Here are the lipsticks I bought. The colors from left to right are Blossom, number 316B, Chiffon, number 312B, Retro Red, number 308B, and Flirty, number 417B.
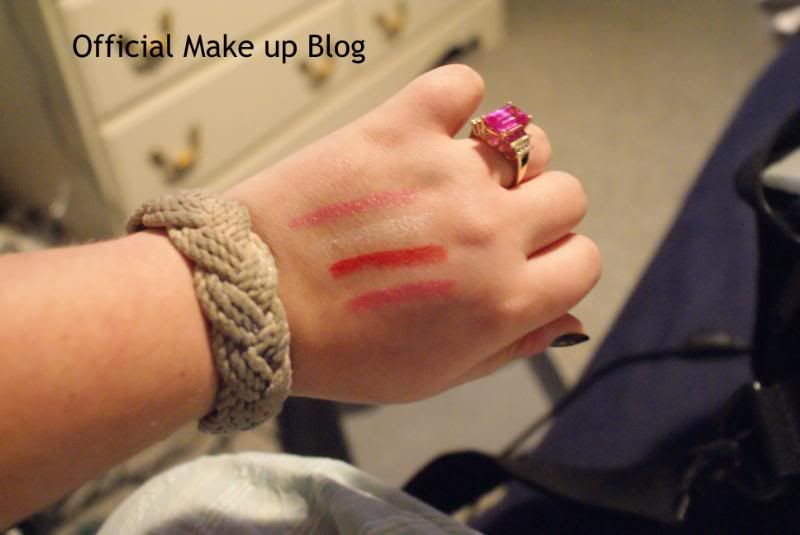
And here are some swatches for you guys. Blosson and Flirty kind of look alike on my skin, but as you can see from the previous picture, there is a bit of a difference in color in them. The swatches from left to right are Blossom, Chiffon, Retro Red, and Flirty.
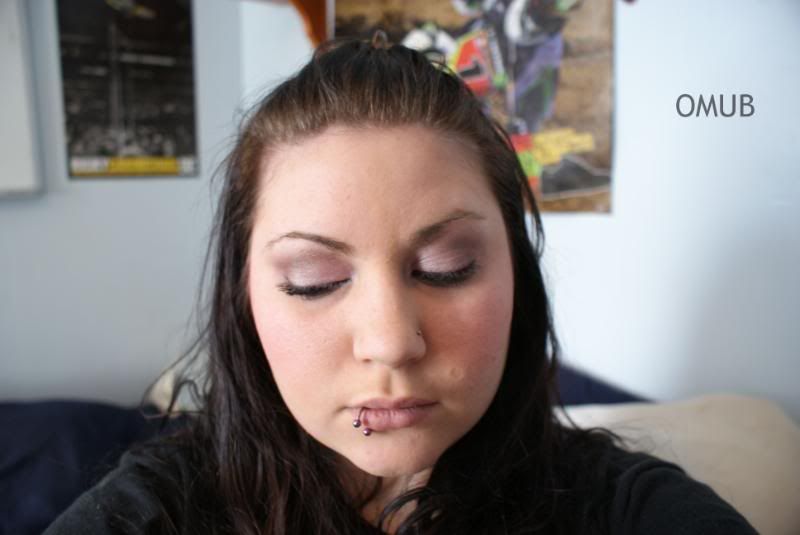
And last but not least, that EOTD I promised you. This one again is REALLY basic and I think I might wear out on Valentines Day with the boyfriend. Again, I will name everything I used for my eyes and what I did.
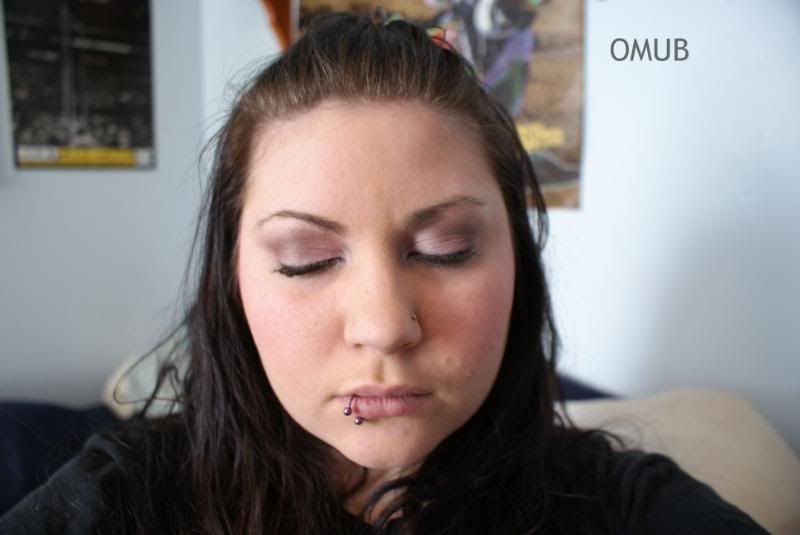
Me a little less squinty..
What I used..
Almay Black eyeliner
MAC Prep & Prime in Medium
Avon pink eyeshadow (this is kind of a no name shadow I bought awhile ago. Any pink shimmery eyeshadow will do really)
Avon brown color from neutral eyeshadow palette (I used the last brown color in the 8 in 1 palette my mom bought) again this is a no name because it's just called the neutral palette. Any medium brown will do
L'Oreal Voluminous Mascara in Black
Brushes used..
All over eyeshadow brush
Crease brush
What I did..
1. Apply black eyeliner on your waterline
2. Apply Prep & Prime all over your eyelid and a little bit above your crease
3. Take your pink eyeshadow and apply all over lid, with eyeshadow brush. Do not go past the crease. Apply as little or as much as you'd like. I used alot to get that real bright pink color to my eyes.
4. Take your crease brush and dab it into your brown color. Apply into your crease and on the outer part of your lid. Apply it until it doesn't show any more pink on that part of your eye.
5. If you need to go over with pink again, do so. I had to do this 1 or 2 times until I felt it looked perfect with the two colors together.
6. Apply your mascara.
...and that's it. Like I said, this eye is really simple and doesn't take long AT all. You can wear this look anywhere you'd like and isn't to dramatic. Have fun with it!!
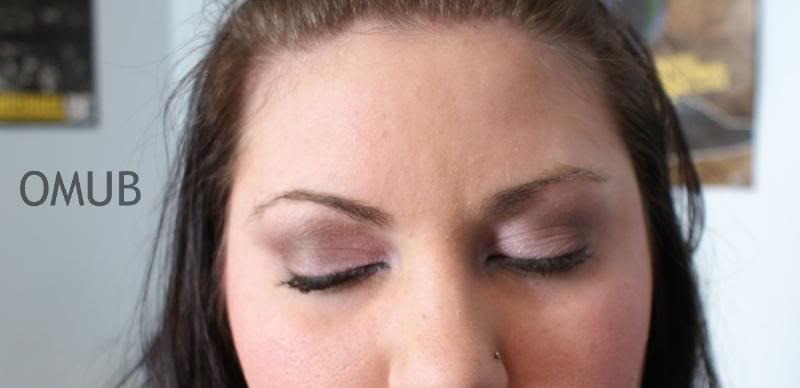
And a close up picture of my eye..


No comments:
Post a Comment